Interiors with a Soul: How to Make Your Own Gallery Wall?
Serkan Şimşek – Interior with a Soul – Comd 357 Multimedia Journalism Fotoğraf Dizisi Projesi
1. Choose a desirable location.
2. Find your aesthetic style.

3. Collect, collect and collect.

4. Plan it.
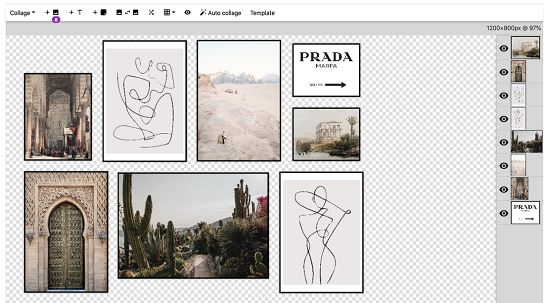
When you have a selection you’re happy with, use an online tool to see if they create a story together. Remember, it is important to put a piece of your soul & creativity in your gallery wall, so take your time while playing with sizes, or layouts. Pay attention to contrast, colors, and style. I experimented with many tools and pre-made template sites and found the one that is the most useful and easy to use. It allows you to change the sizes freely, and the checkered background is useful when measuring up. You can access it by clicking here.

5. Frame-up!
If you opted for artworks with already existing frames, you can skip this step. If you opted for downloading your prints, it is time to get some frames that will best elevate your gallery wall. You can choose to have frames of different styles, colors, or materials. In my case, I found IKEA Lomviken frames to best fit my requirements.

6. Get your selection printed.
After curating your artwork, downloading them, and buying your frames, it’s time to get your selection printed out. I found the best way to do it is the big photographing studios. From shiny to matt, cost-efficient to museum quality Hannemühle, there is a varied selection of papers to choose from. After trying multiple studios and looking at the price/performance ratio, the best option in Ankara for me was Asdoğan Photography. In their website, you can find their contact numbers and ask any questions you may have.

7. Decide on the final layout.
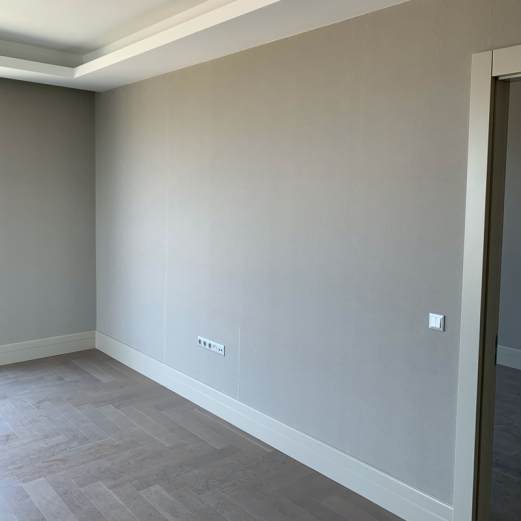
Before hanging up, decide on the final layout. I found the floor is to be the best way to visualize your final selection before hanging. Don’t be afraid to lay everything on the floor and do some last-minute changes if needed. Pay attention to not go too high up to the ceiling, as well as not too low on the furniture. Use painters’ tape to outline the gallery wall especially on the top, to make sure that it is located in the best location possible. The optimal amount of space is usually 20-30 cm higher than your furniture, centered at your eye level.

8. Hanging
Depending on your surface, you can choose to use sticky bands as well as the traditional and the safest way, nails. The paper backings inside the frames are very useful guides on where to nail. If you have wallpapers and renting the space, I got a pro tip thanks to my interior designer neighbour. Cut upside-down V shape on the wallpaper and to nail inside of it. While moving, you can glue the V-shaped flap back in place and save your security deposit.

9. The final look.
Stand back, enjoy, and bask in the glory of your new creation. You have successfully put a piece of your soul and creativity in your place. Don’t forget that your gallery can be easily be swapped or updated whenever you feel like it. For instance, I am planning to switch it up for a new season to introduce an autumnal/winter theme. Just decide what you want to take down and either reframe with a new print or replace it with a similar-sized piece.

I hope this post helps spark some ideas inside you. If you try, don’t forget to send me your gallery walls via mail or leave a comment below!


